

Building A Canoe - Step 1
Posted by Peter on Feb 28th 2020
We have a new canoe design coming out soon that will be based on the colors from our Driftless collection of painted paddles, and we just though it would be fun to share a few photos from the process, in our partnership in building the boats with Merrimack Canoe Co (our shopmates who actually provide the canoe-building expertise). The method we use of creating a canoe actually starts in the opposite way most people would assume; we paint it first, and then add the structure to the paint, and so on. Rather than marine paint, we use a material called gel coat; it's essentially dyed resin, so aside from looking stunning on a finished boat, it also adds a small amount of protection to the outside of the canoe.

After the mold is prepared, we tape out any design that is going to be used. Solid color canoes skip this step, since no masking is needed.

Next the first color of gel coat is sprayed in, and once that's completed, the first masked section is peeled off. Here you can see what looks like a black stripe is actually the mold itself. When the next color is sprayed, that stripe will show the new color in the finished canoe, in this case an off-white color, shown below.
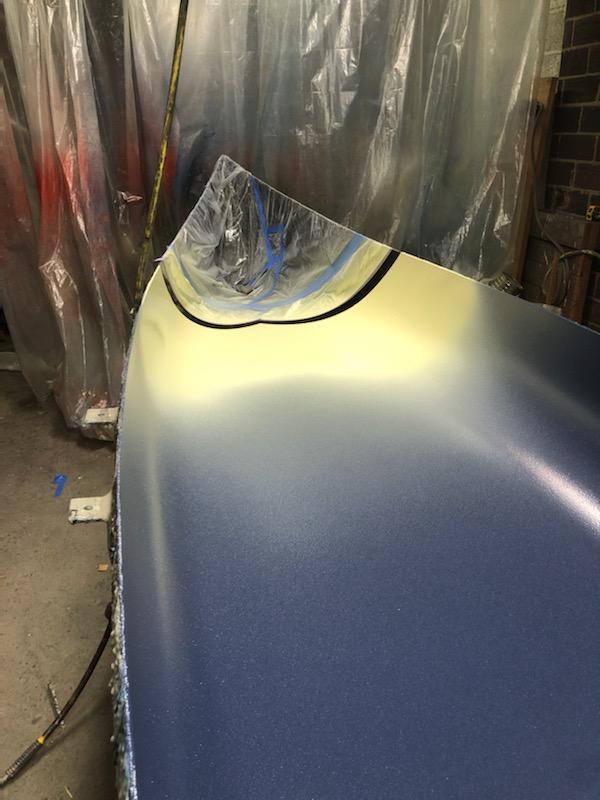
Then a layer of yellow, before peeling the next mask.
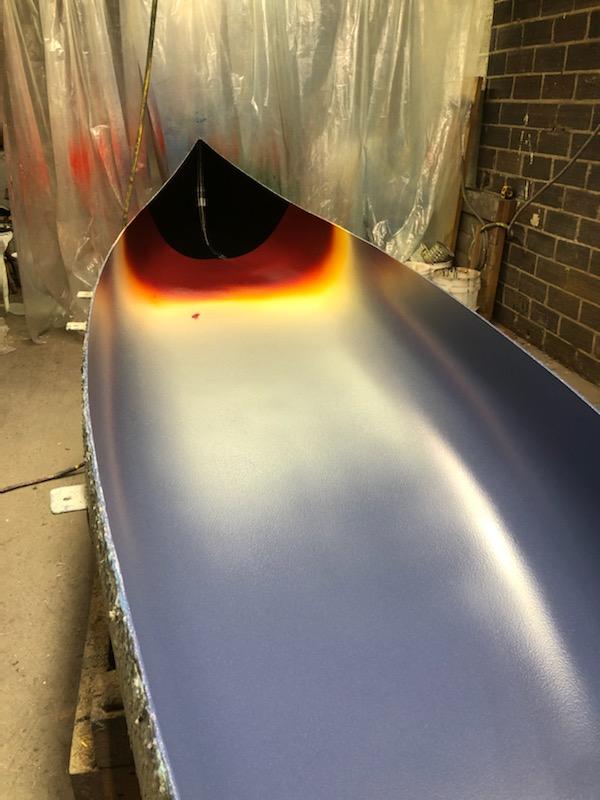
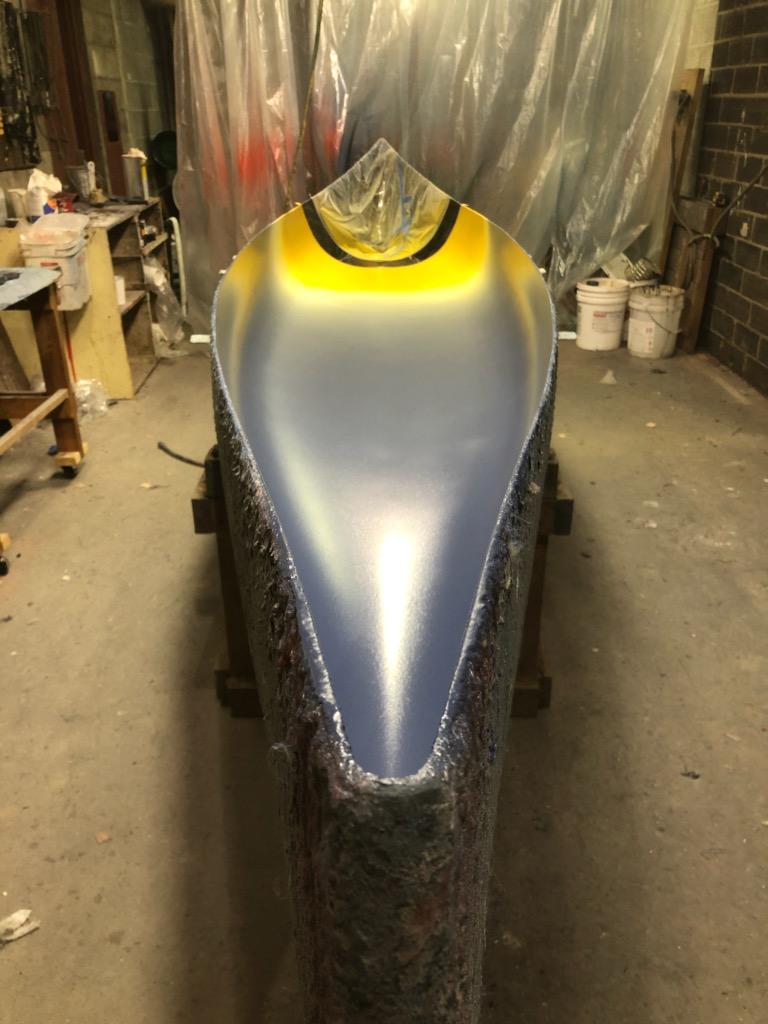
Finally some red, and that lest section in the end will be sprayed with the same navy blue as the main section of the canoe. Eventually it will look a bit like this:

Remember though that at this stage the canoe is essentially just paint. You could peel it up just like a layer of partially-dried house paint. Before it can be removed from the mold, it first has the composite fabric layers layers placed into the canoe, like this:
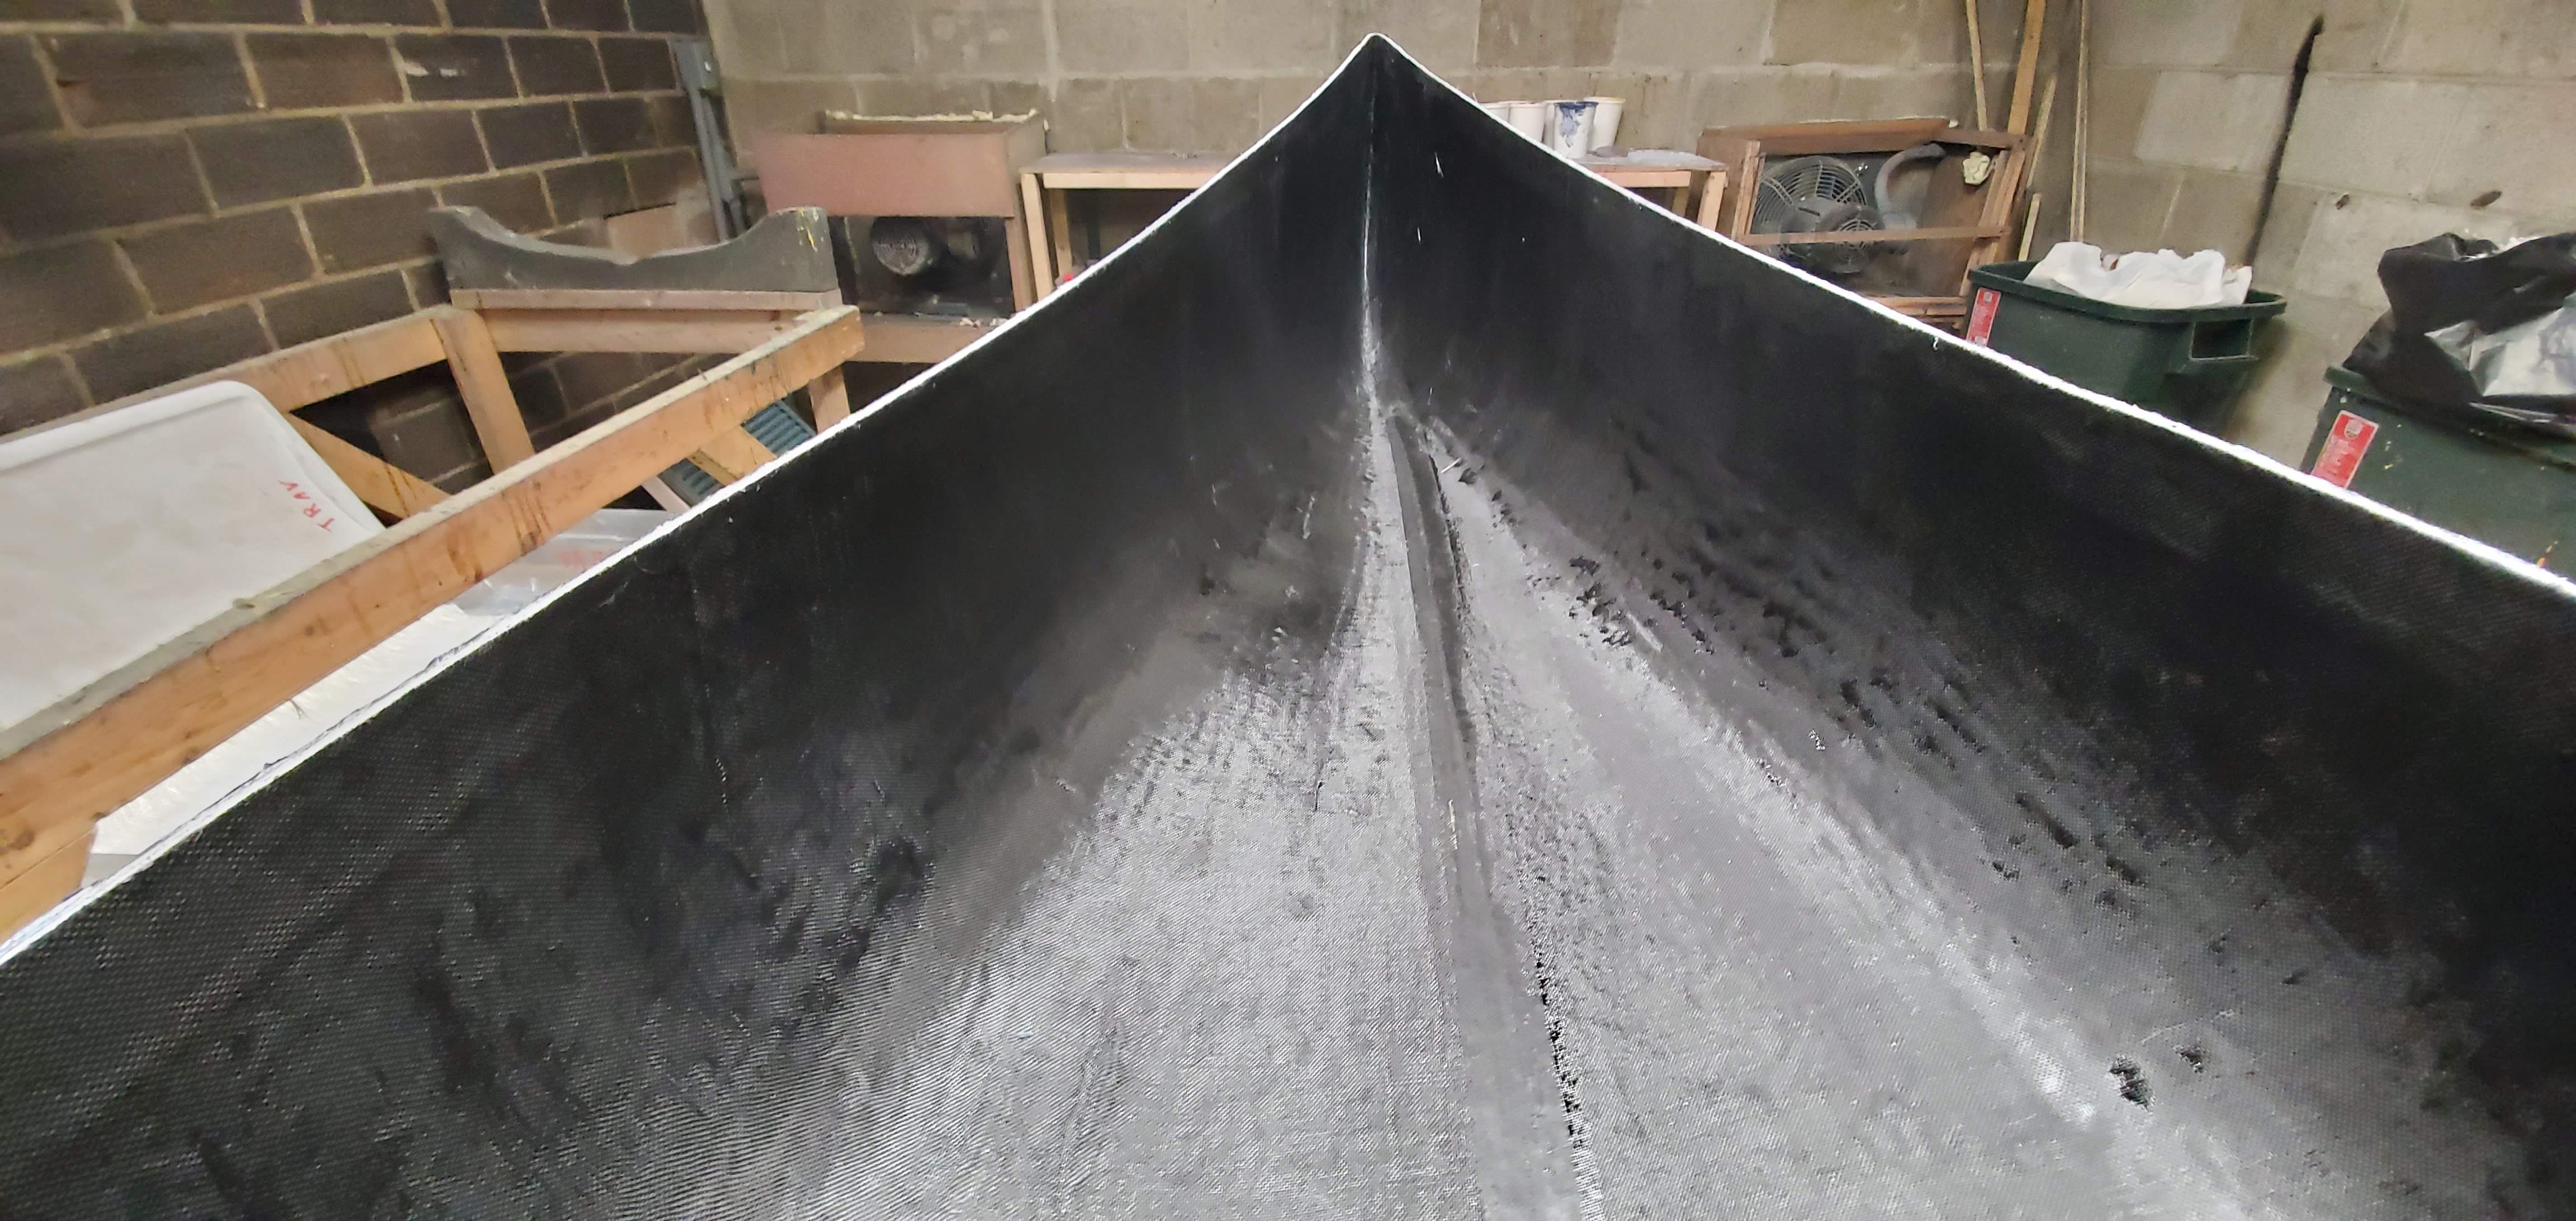
It's not much to look at for now, but next time we'll take a look at the ribs being laid in, and eventually the canoe being pulled from the mold!
*UPDATE: Click here to see part two!*