

Building A Canoe - Step 2
Posted by Peter on Mar 5th 2020
This is a continuation of our series on the process of building a canoe with our partners at Merrimack Canoe Company (who share the shop with us and build the boats). Click here for step one, including the process of putting the gel coat into the mold.
One of the most distinguishing features of a Merrimack Canoe goes back to the beginning of their history in the mid 1950's. Fiberglass was the new exotic material at the time, but Merrimack founder L.H. Beach wanted to keep the traditional aesthetic of a classic rib and plank canoe, while adding some of the performance benefits of fiberglass. His first canoe, the Osprey, is a hull shape that we at Sanborn and Merrimack continue to build even today, although the composite materials have become much more advanced in the meantime.
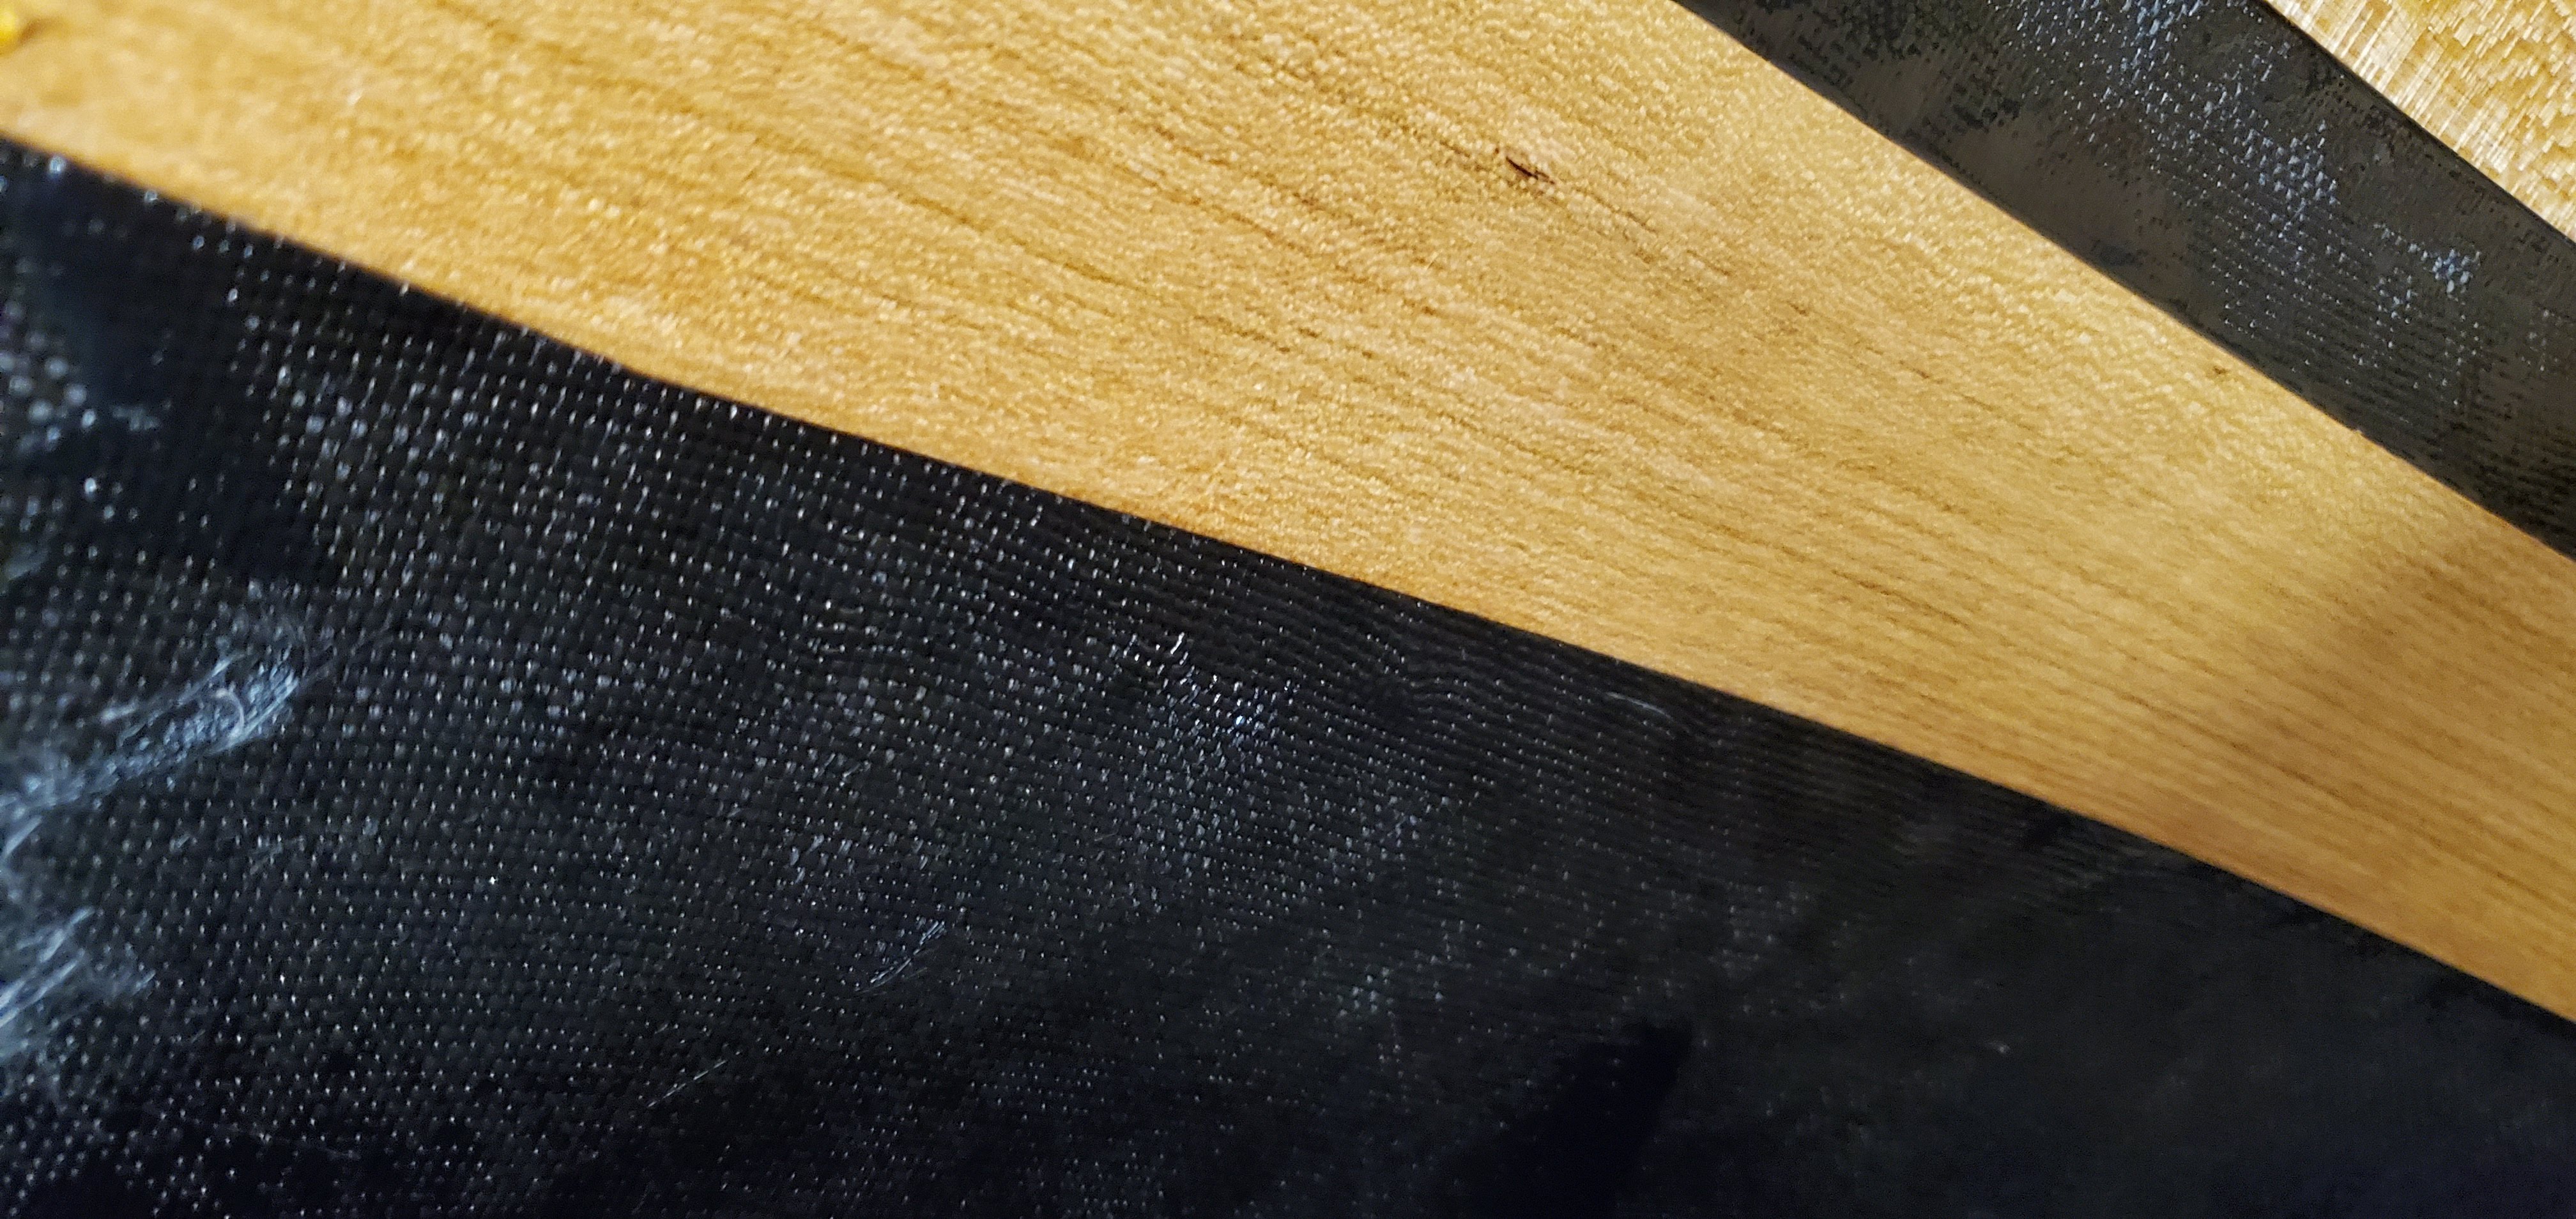
Where we left off in the previous post, the composite fabrics (in this case just fiberglass, but in other models Kevlar and Carbon Fiber are substituted instead), have been laid into the mold directly onto the gel coat. Since gel coat is effectively dyed resin, it bonds to the composites extremely well. Here's a closeup of the fabrics (before they're fully cleaned up) with the start of the ribs being laid in place.
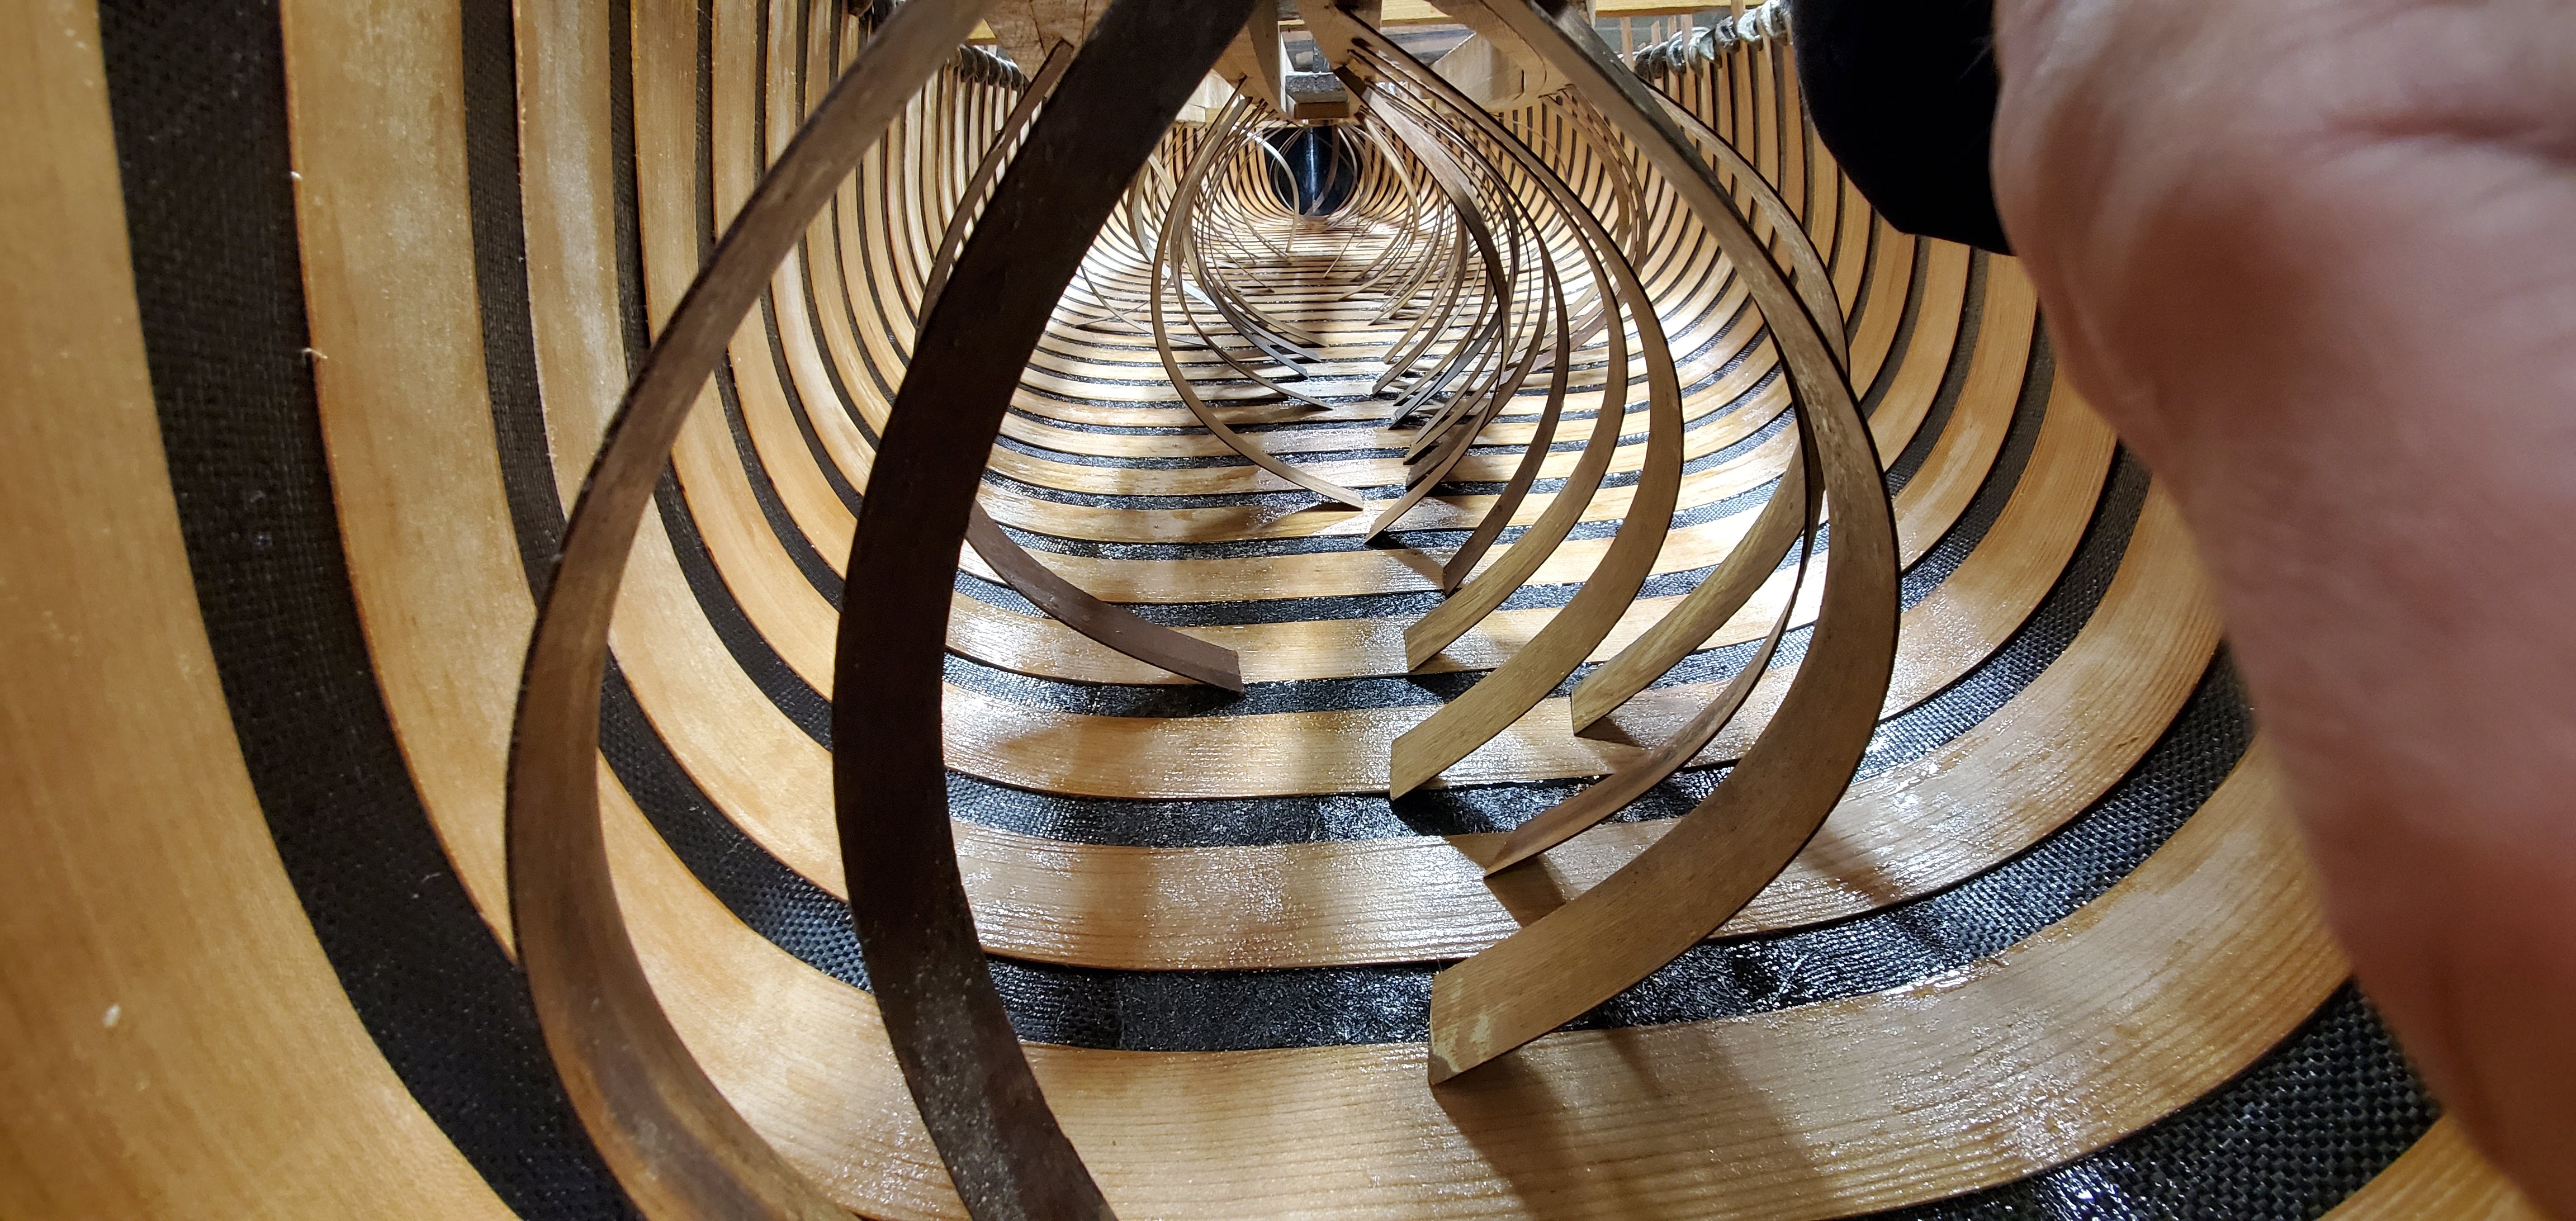
Here you can see the ribs being held in place while they're attached. (shown photo is a different canoe; typically on the floor of the canoe we don't leave any space between ribs, but in this photo it's a lightweight prototype being laid up). Below shows what our finished Driftless canoe with Cherry ribs looks like. You'll also see that we've added a fiberglass floor mat (the cloudier area across the floor surface) to add a layer of protection for the ribs on the floor of the canoe. It's pretty important to ensure a very long life for the canoe even when kids and pets clamber in and out of the boat, or camping gear is tossed in there.
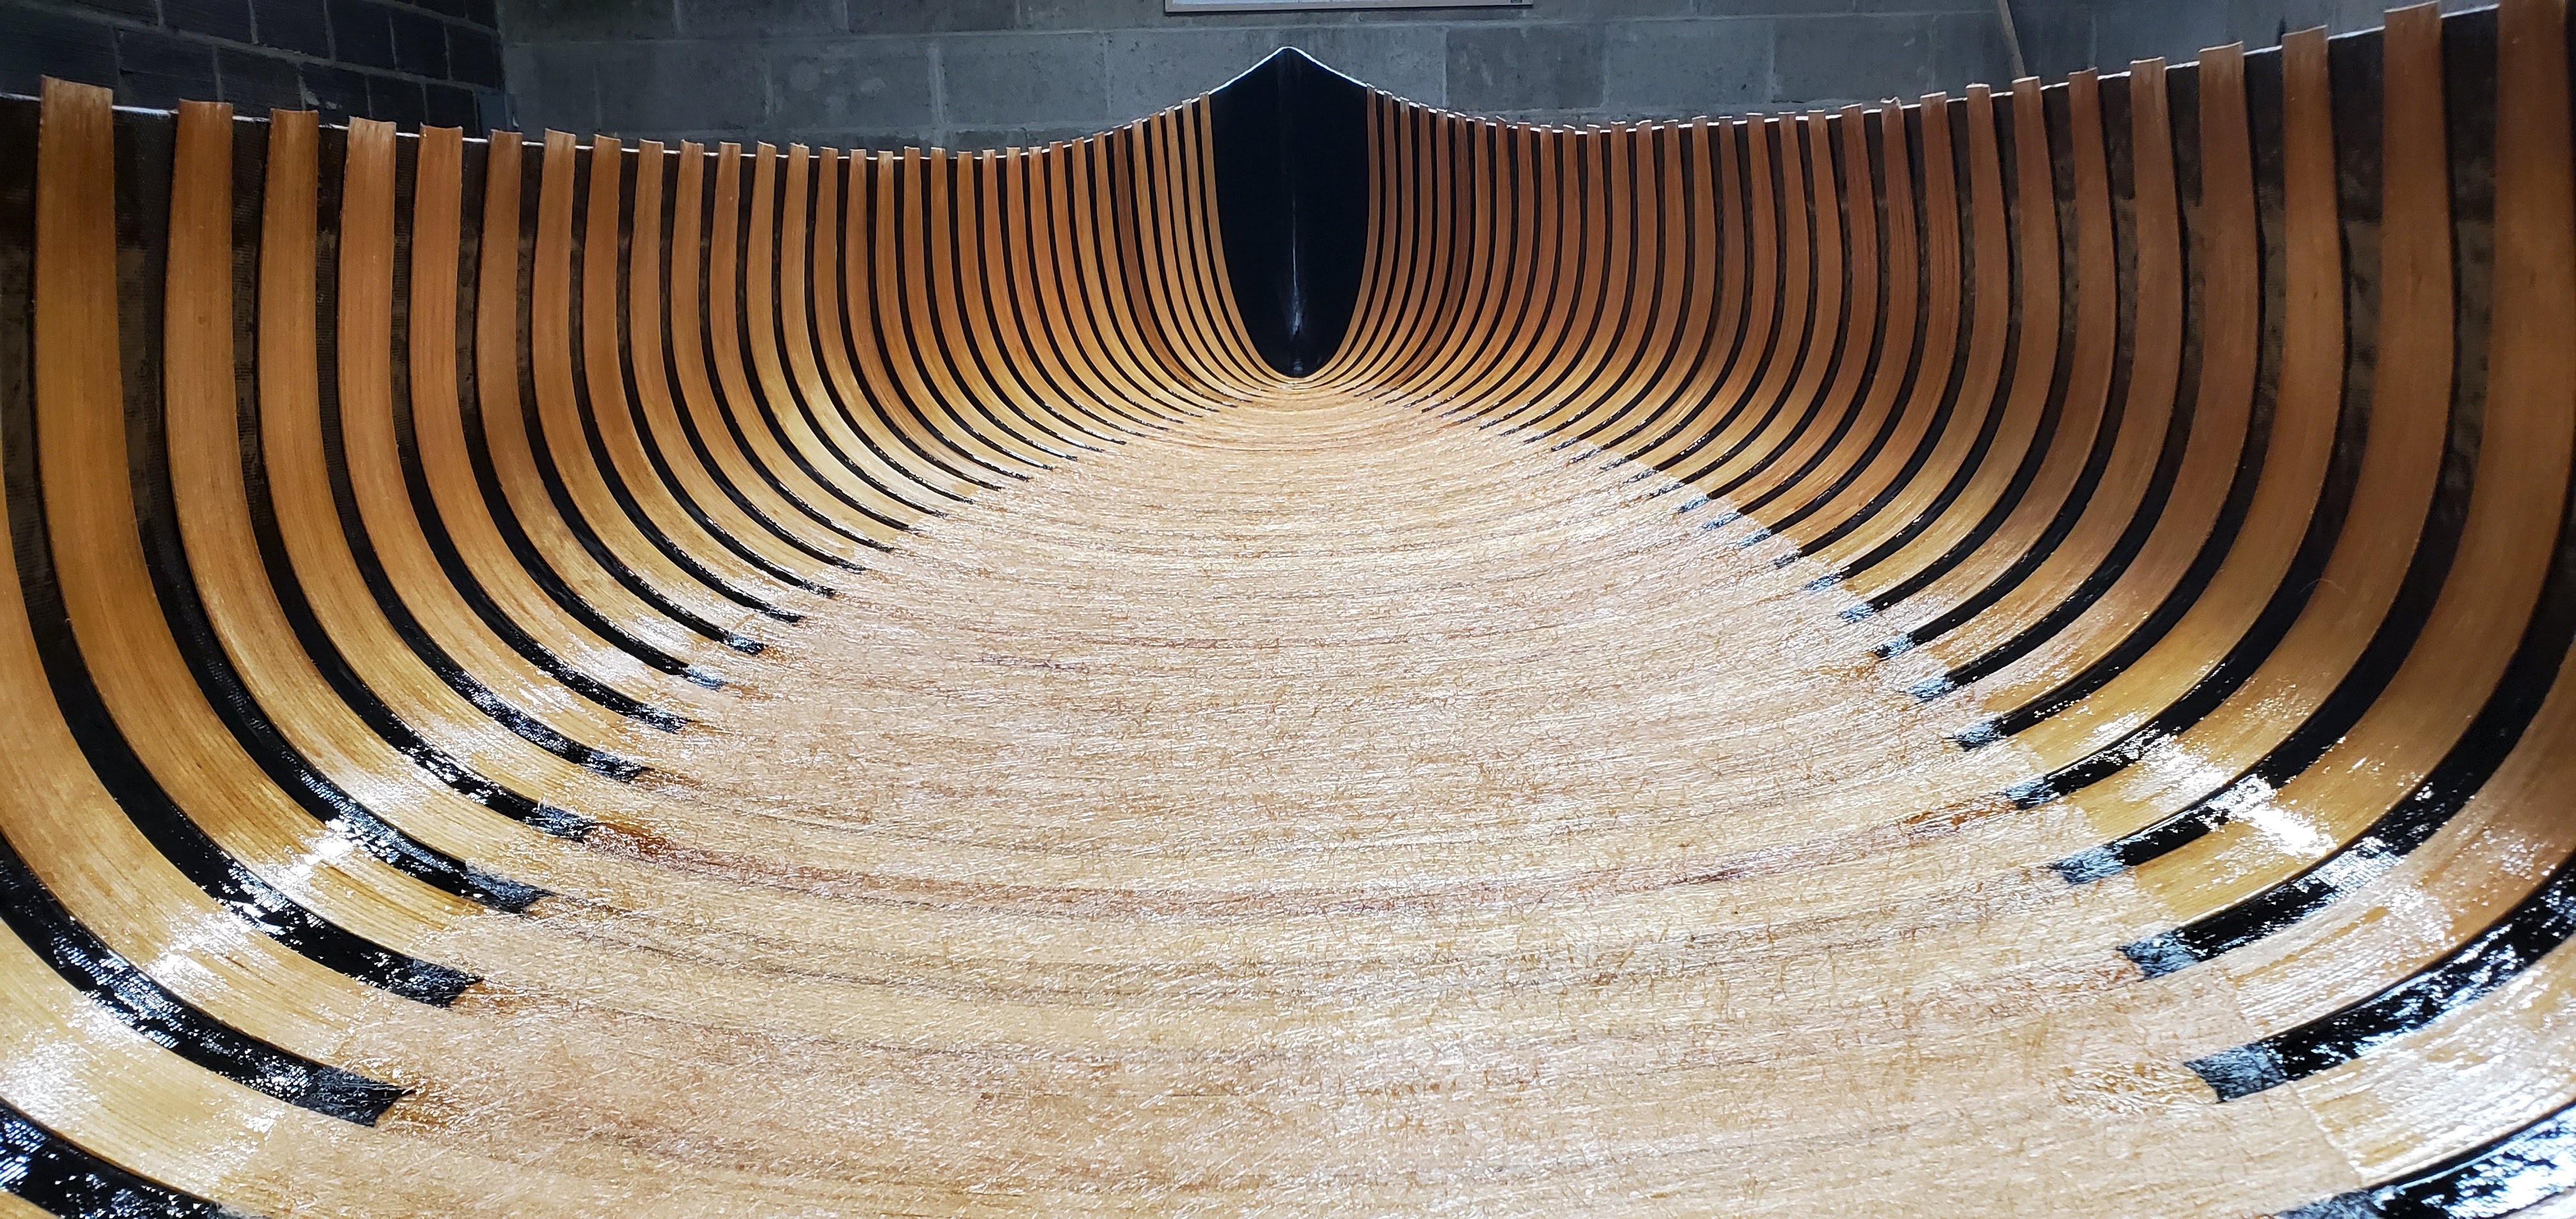
At this point you can see the most distinctive aspect of a Merrimack canoe has taken shape. Beautiful wooden ribs and floor adding that classic charm to a composite hull. Once the materials are all full set in place and the resin and epoxy cured, it's time to pull the canoe out.
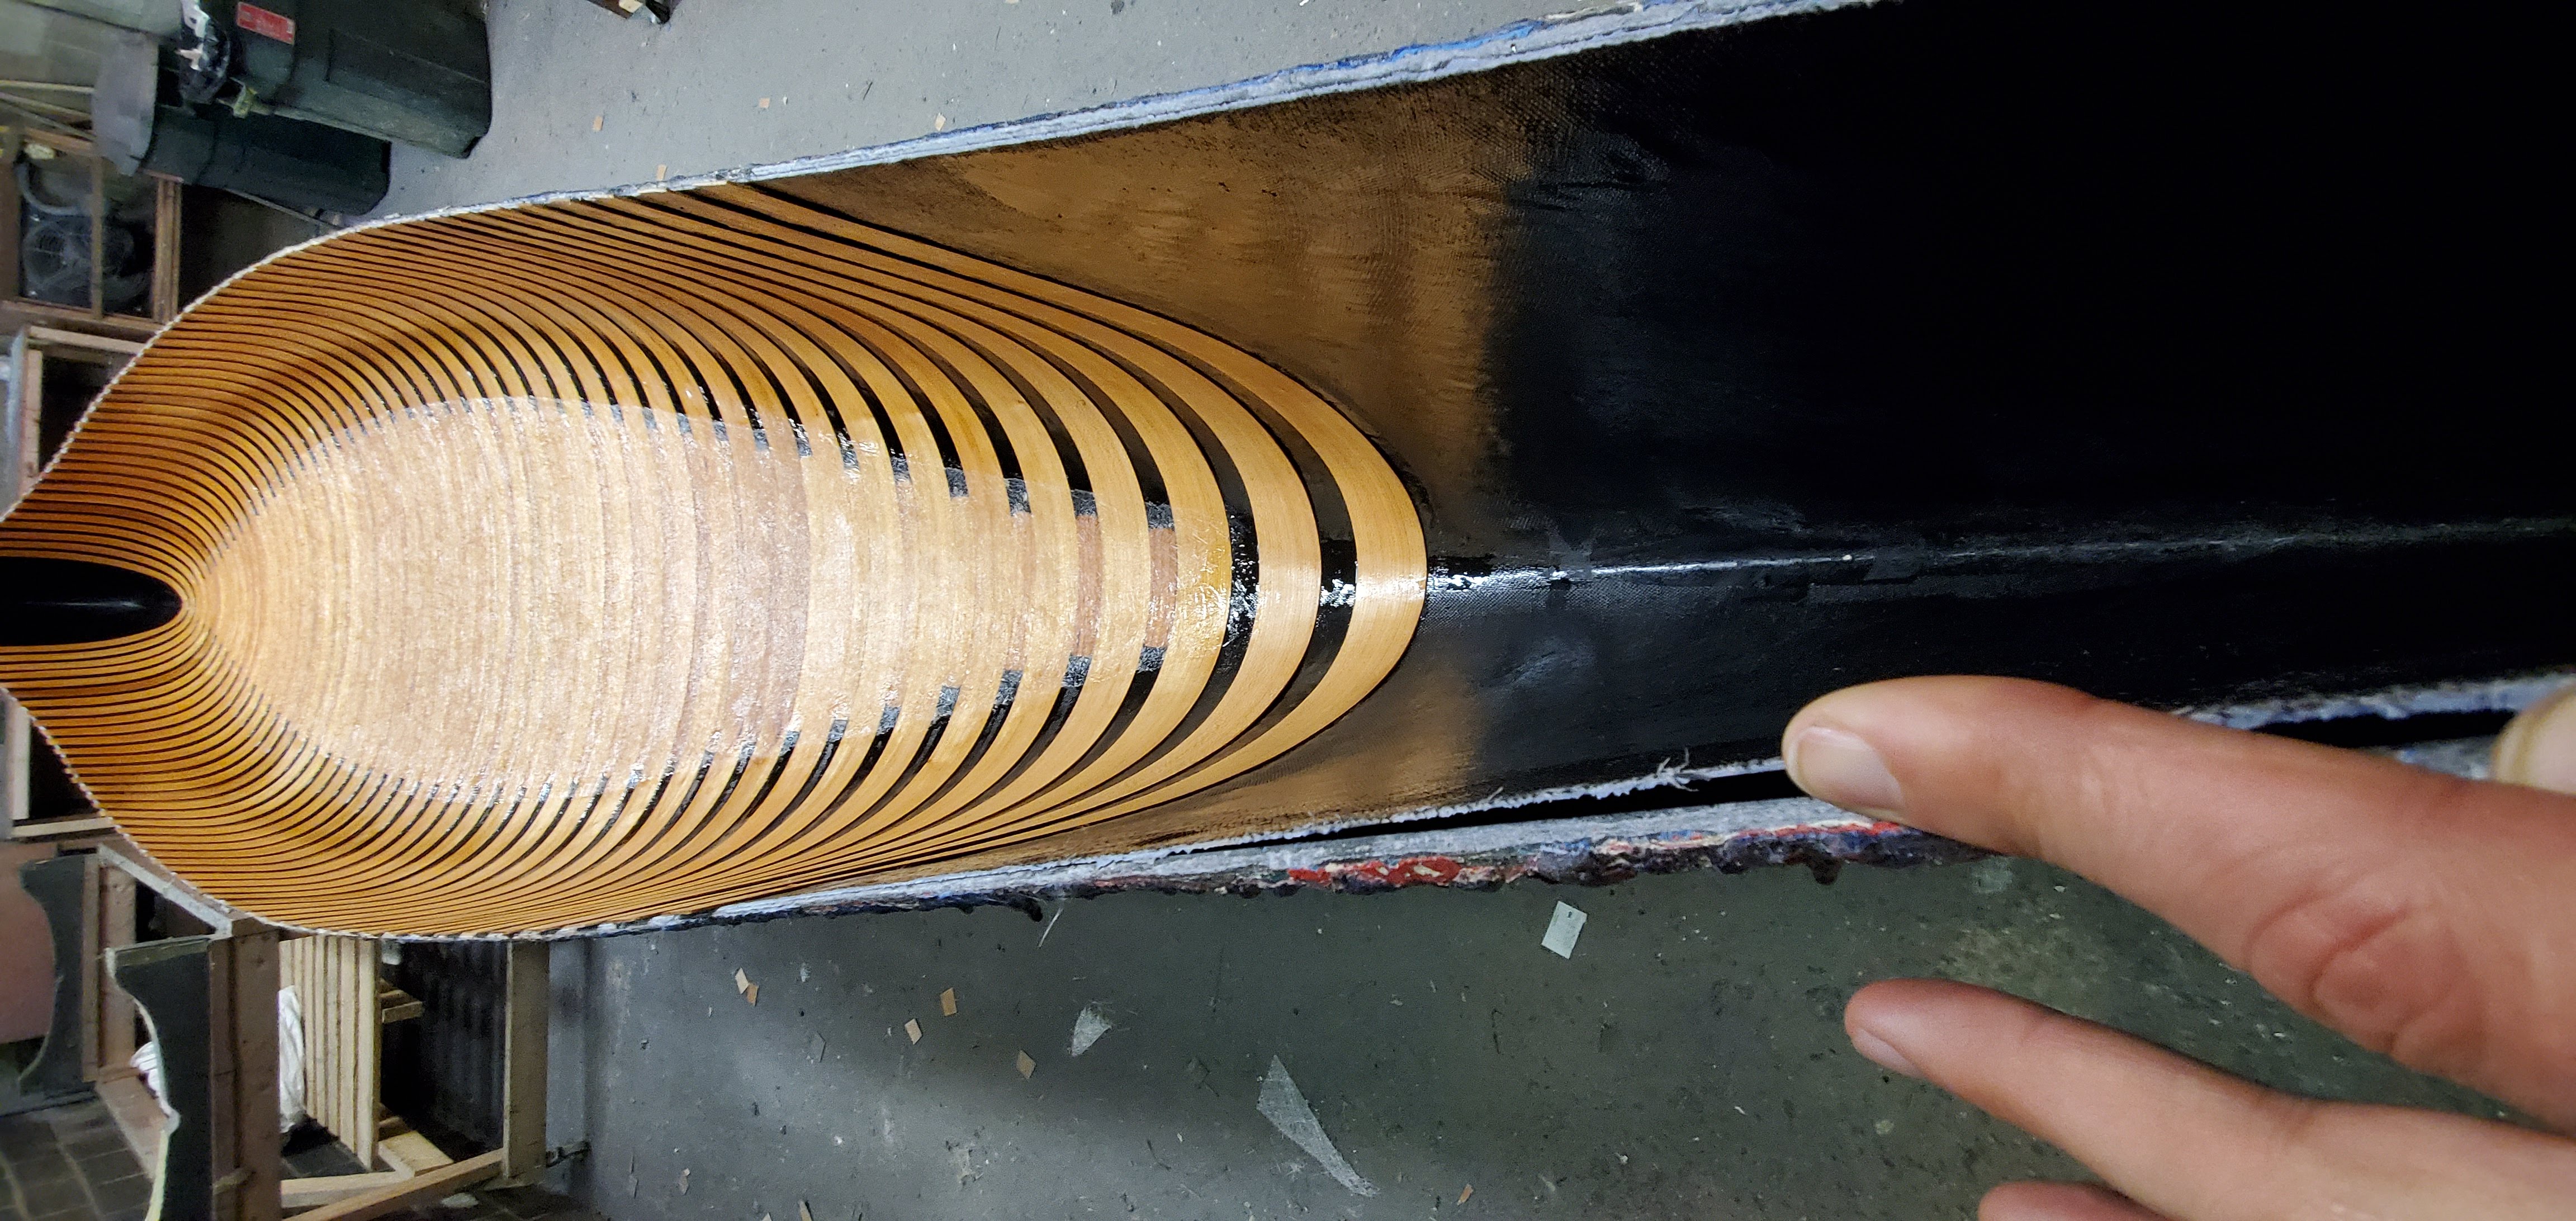
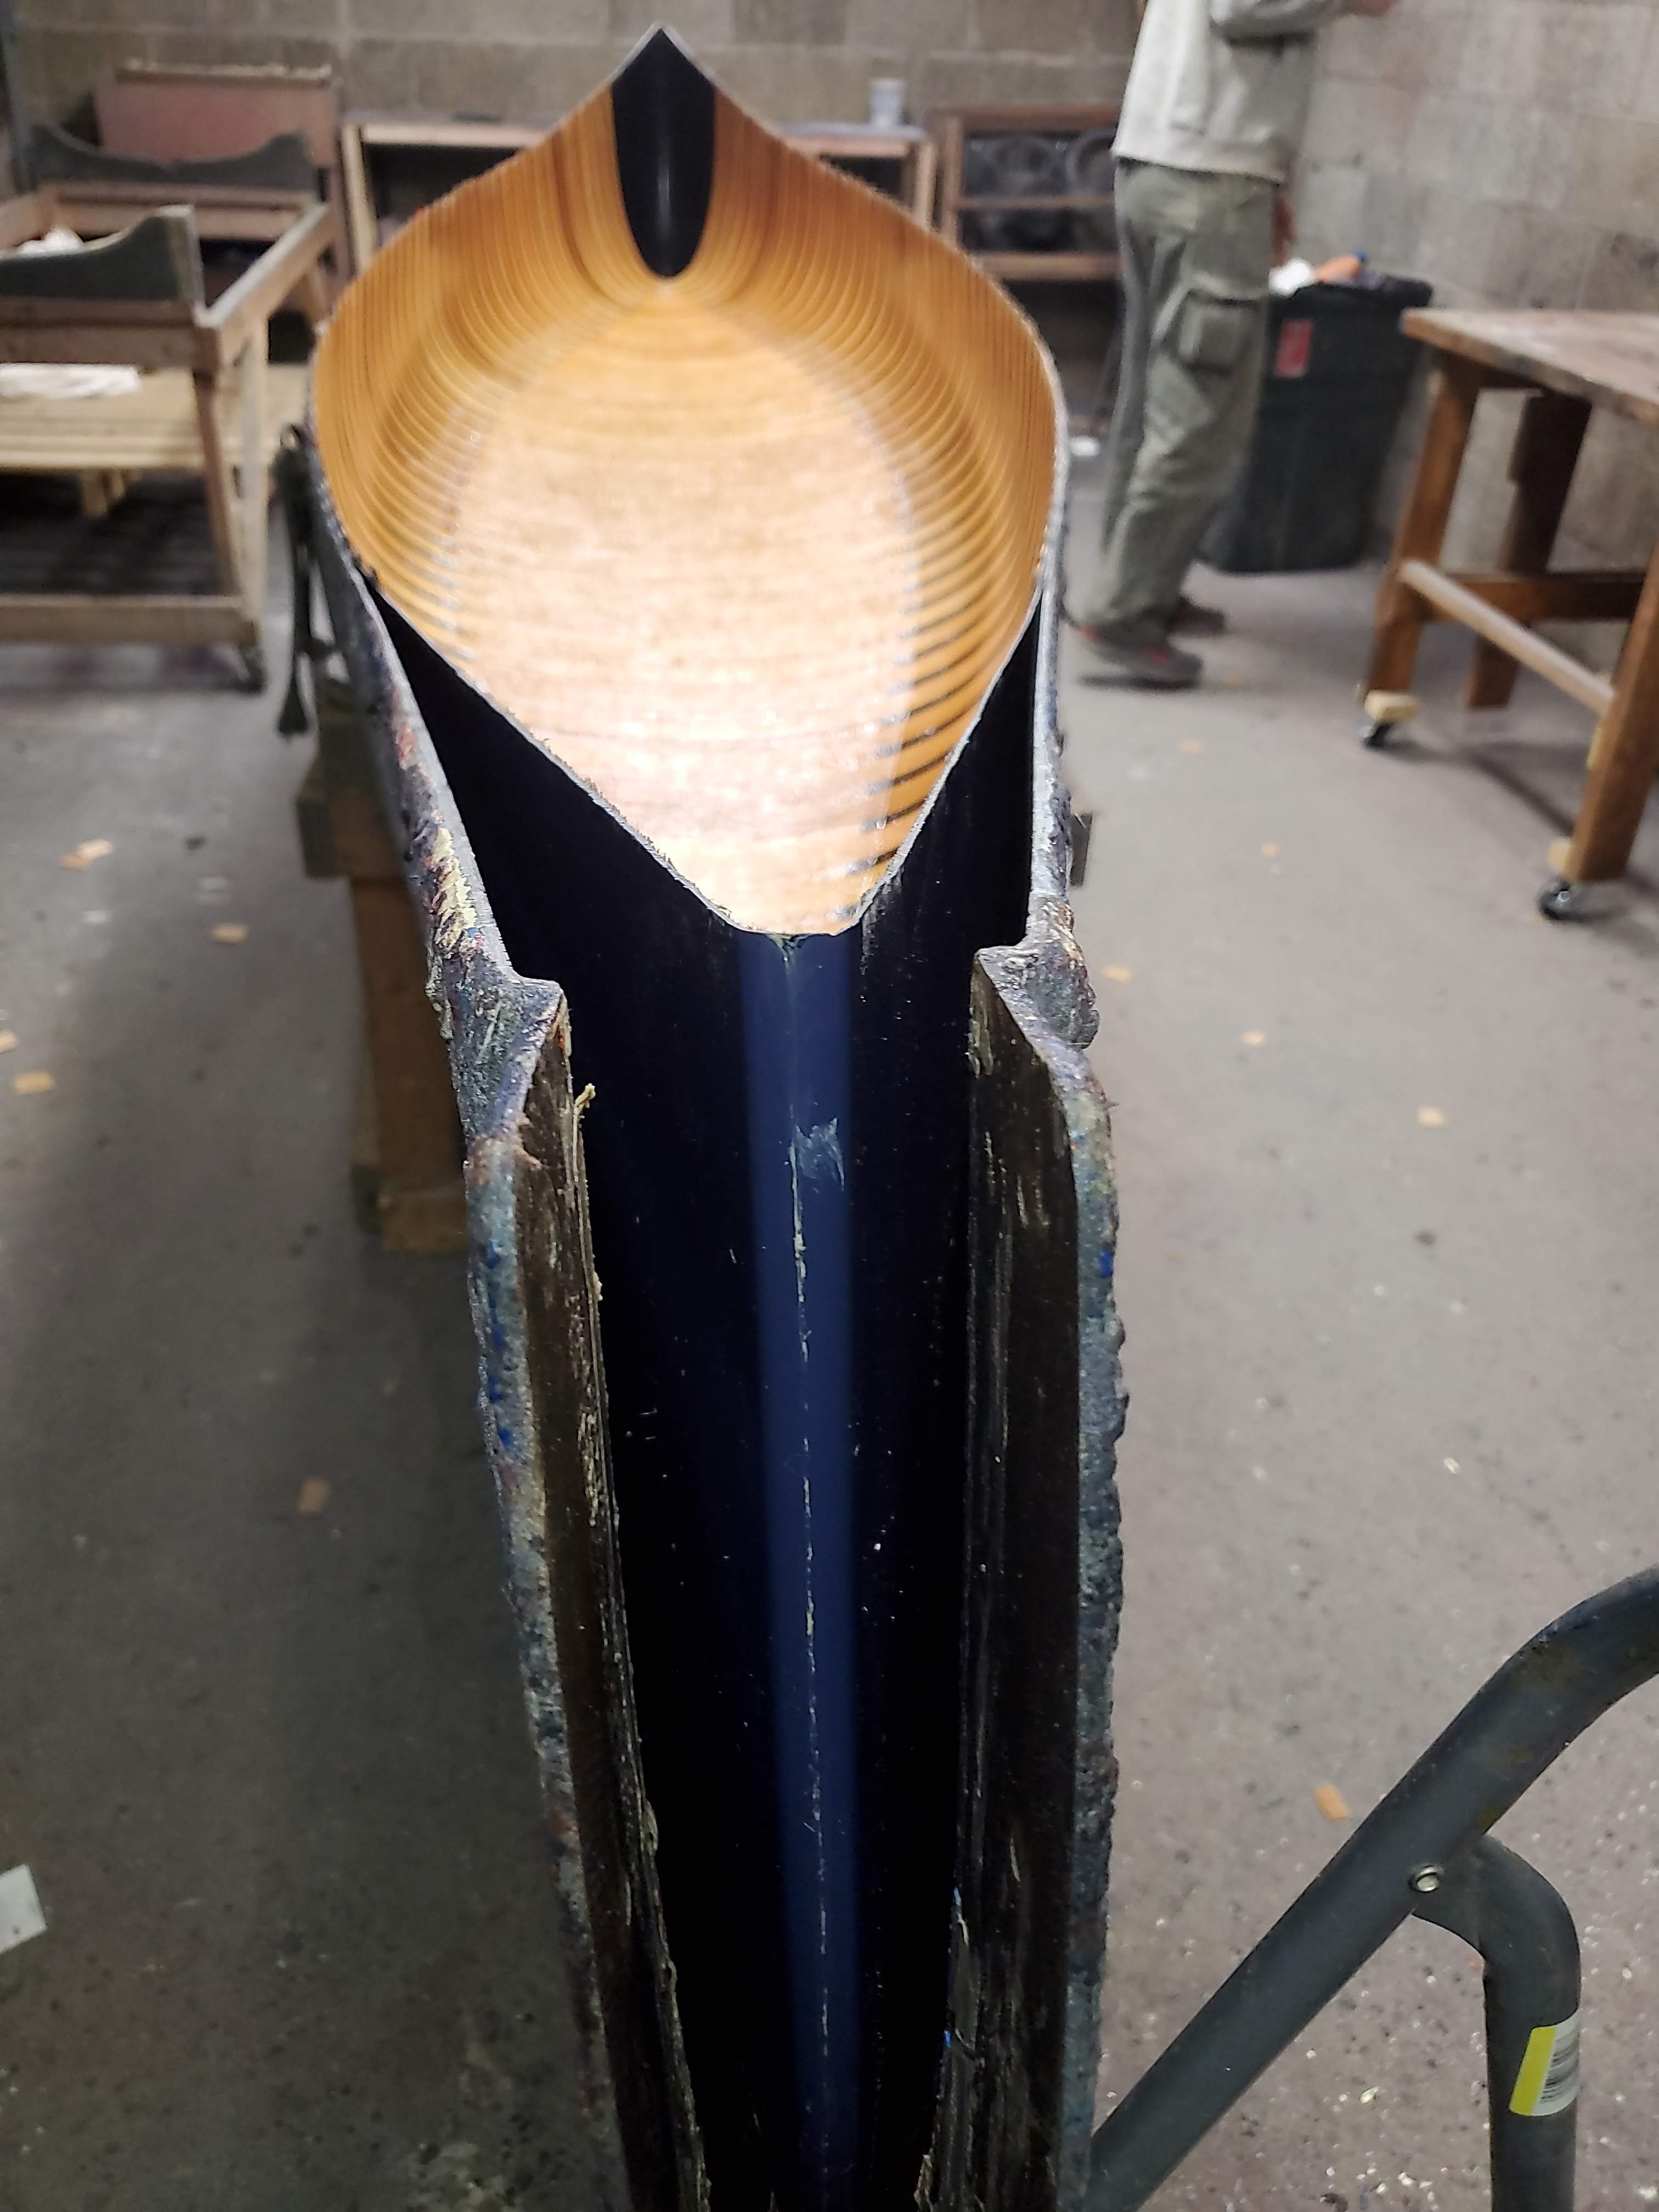
The hull itself is very thin at this point, shown here, and this is the benefit of adding these modern materials. A fully-wooden canoe would require much more material and weight to be structurally sound, but modern composites are extremely strong even with very thin layups.
Next the mold is opened so the canoe can be lifted out, and we get our first look at what the canoe will really look like. This is always a bit anxious, as if there were any imperfections in the gel coat when it was sprayed in during the previous phase, you won't actually know until it gets to this stage.
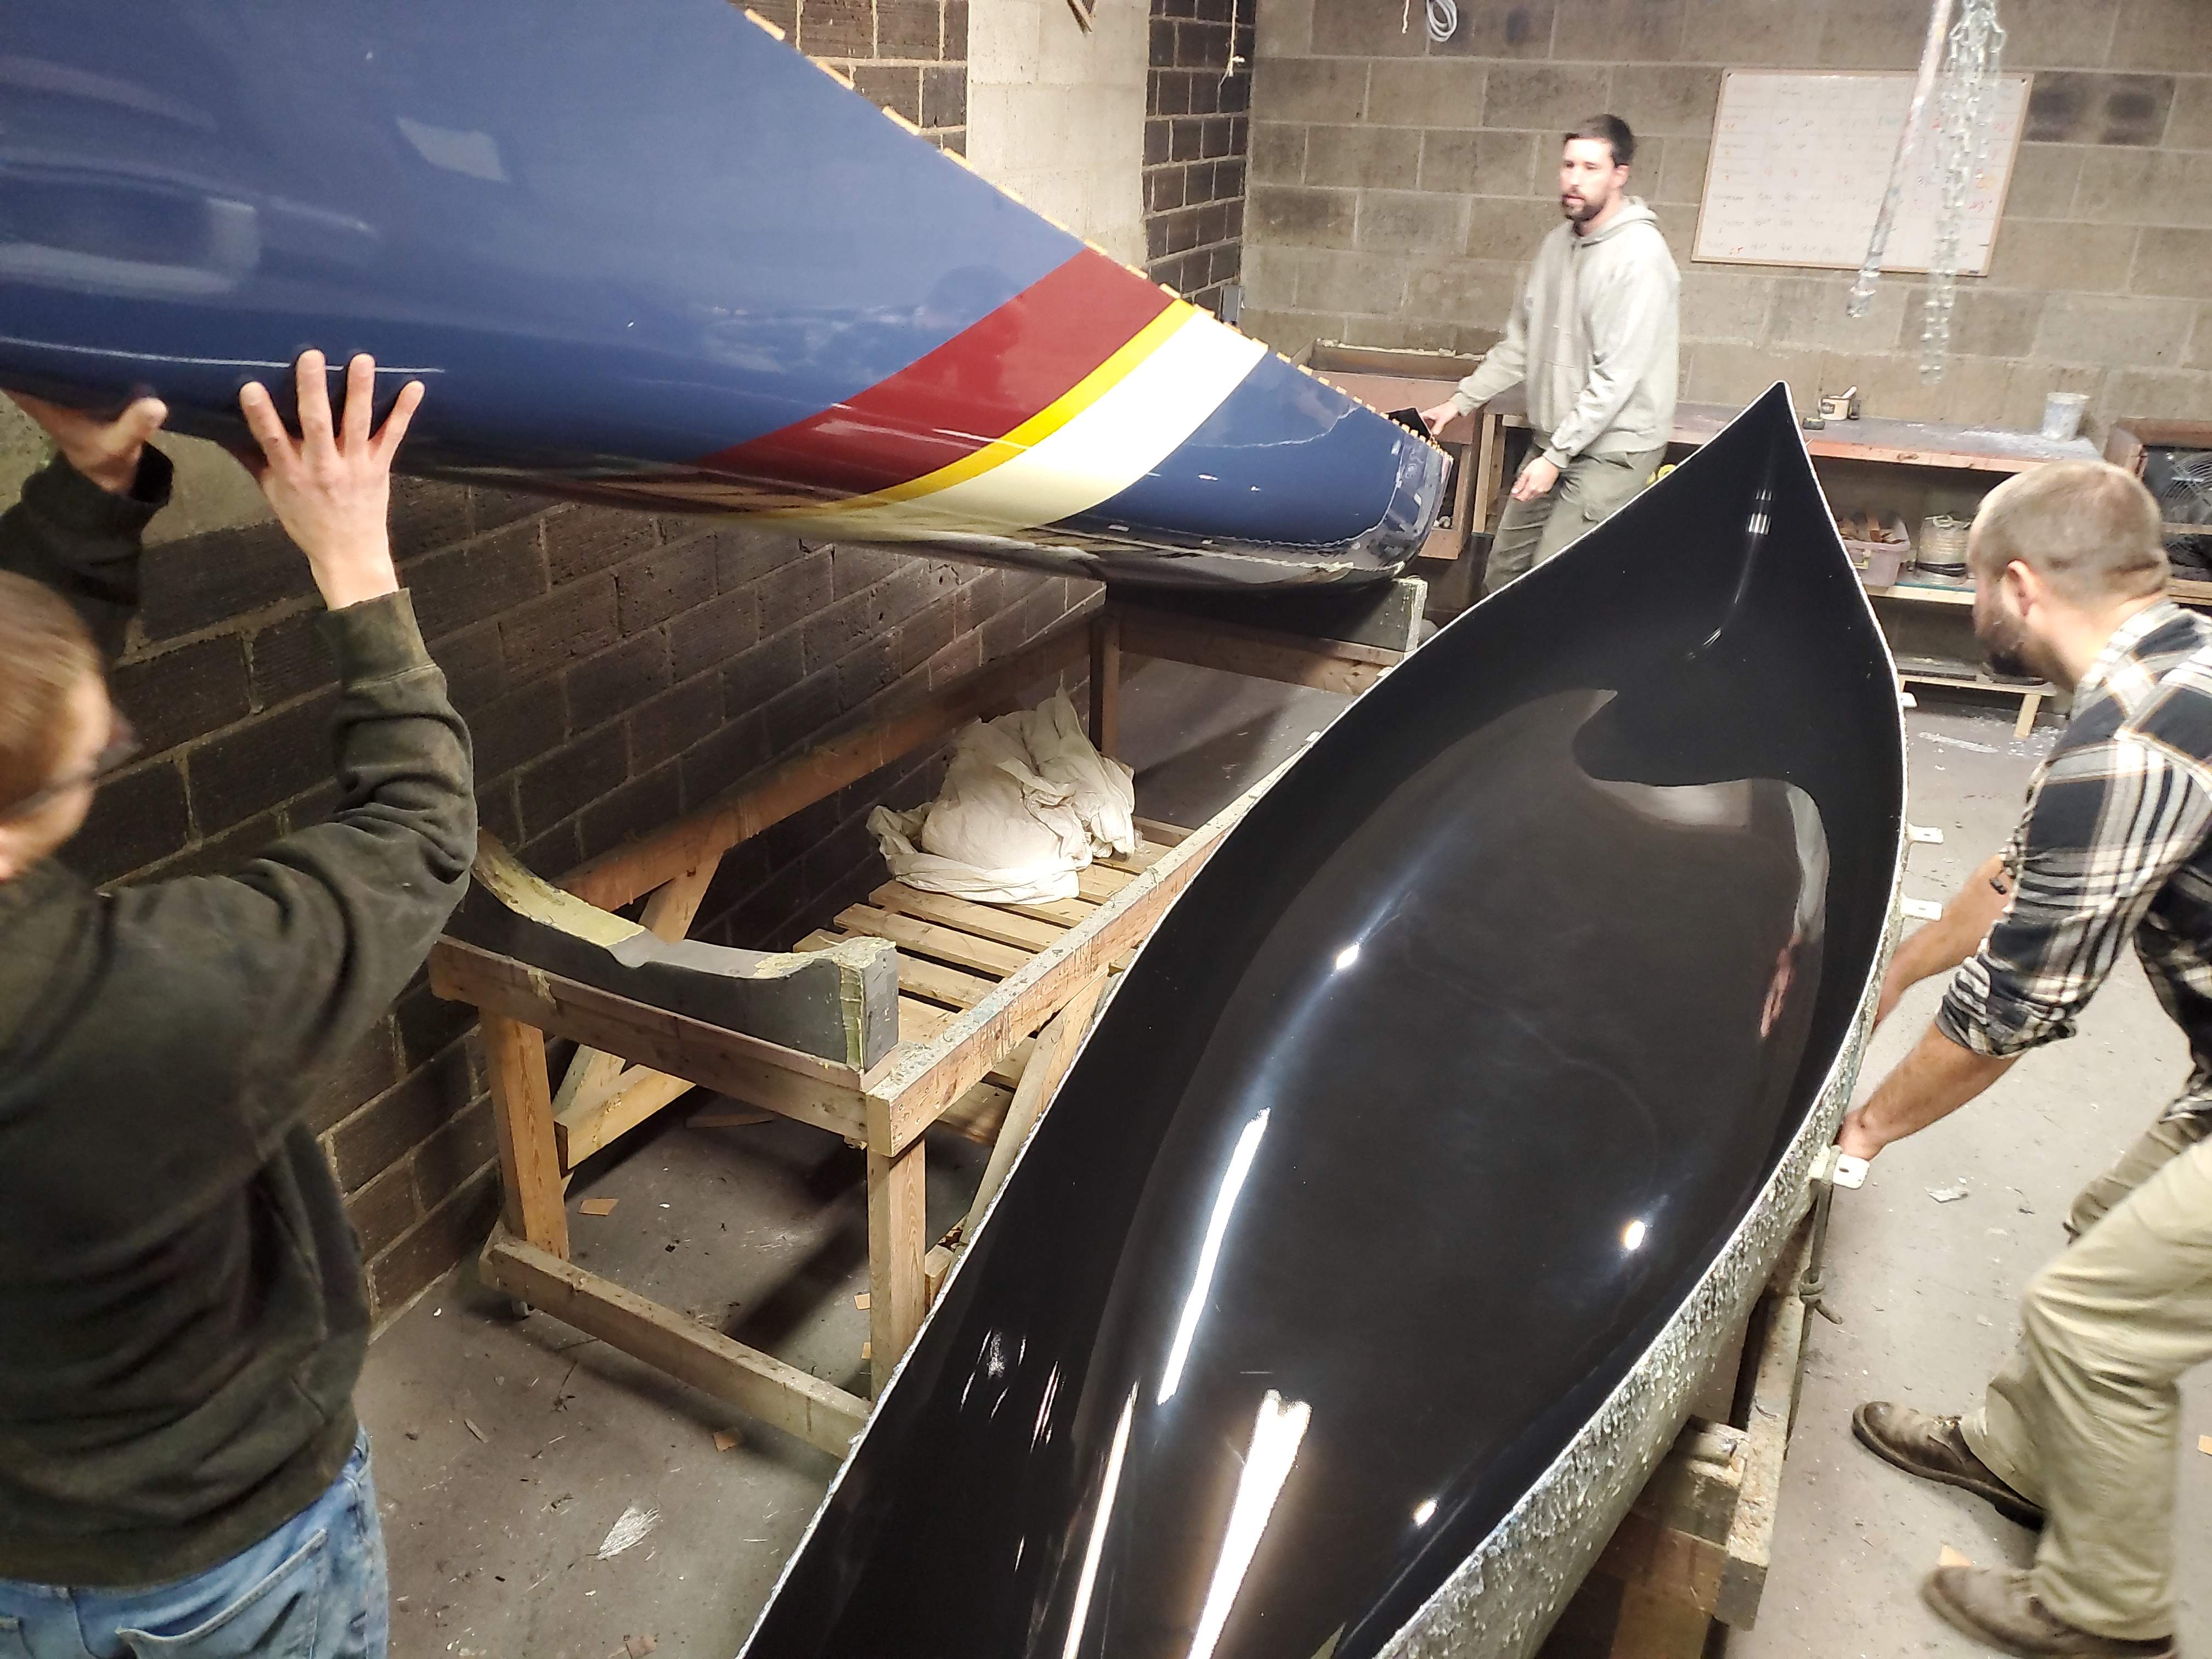
Here you can see what we've all been waiting for. The crisp lines and fully formed hull pulled from the mold (shown on the left). Everything goes through an initial inspection and then the canoe is prepped to head off to get all of the woodwork, a blog post for next time!